Most homeowners searching for attic insulation in San Jose don’t start the conversation until something forces the issue. A climbing PG&E bill. Upstairs rooms that turn into an oven every August. A smell coming from the ceiling. Or the moment a technician opens the attic hatch and finds insulation that’s been sitting there since 1987—compressed, contaminated, and doing almost nothing.
Key Takeaways
- Attic insulation in San Jose typically costs $3,000–$8,000+ depending on home size, existing conditions, and scope of work.
- Contaminated or rodent-damaged insulation must be removed before anything new goes in—layering over it traps the problem.
- R-38 is the recommended target for most Bay Area attics; many older San Jose homes fall well short of that.
- Batts insulation is the stronger long-term choice for homes with any rodent history, because it keeps the attic serviceable after installation.
- Air sealing is not optional—it’s what makes the insulation actually perform.
- Free attic inspections are standard among reputable local contractors; always start there before committing to any scope of work.
Attic insulation in San Jose is never a single conversation—it’s several.
The right scope depends on what’s already up there, what’s been living in it, and what your home really needs to perform efficiently in the Bay Area’s specific climate. This guide covers all of it: what replacement really involves, when cleanup and rodent damage repair are part of the equation, what it costs, and how to choose a contractor who won’t cut corners on the steps that matter most.
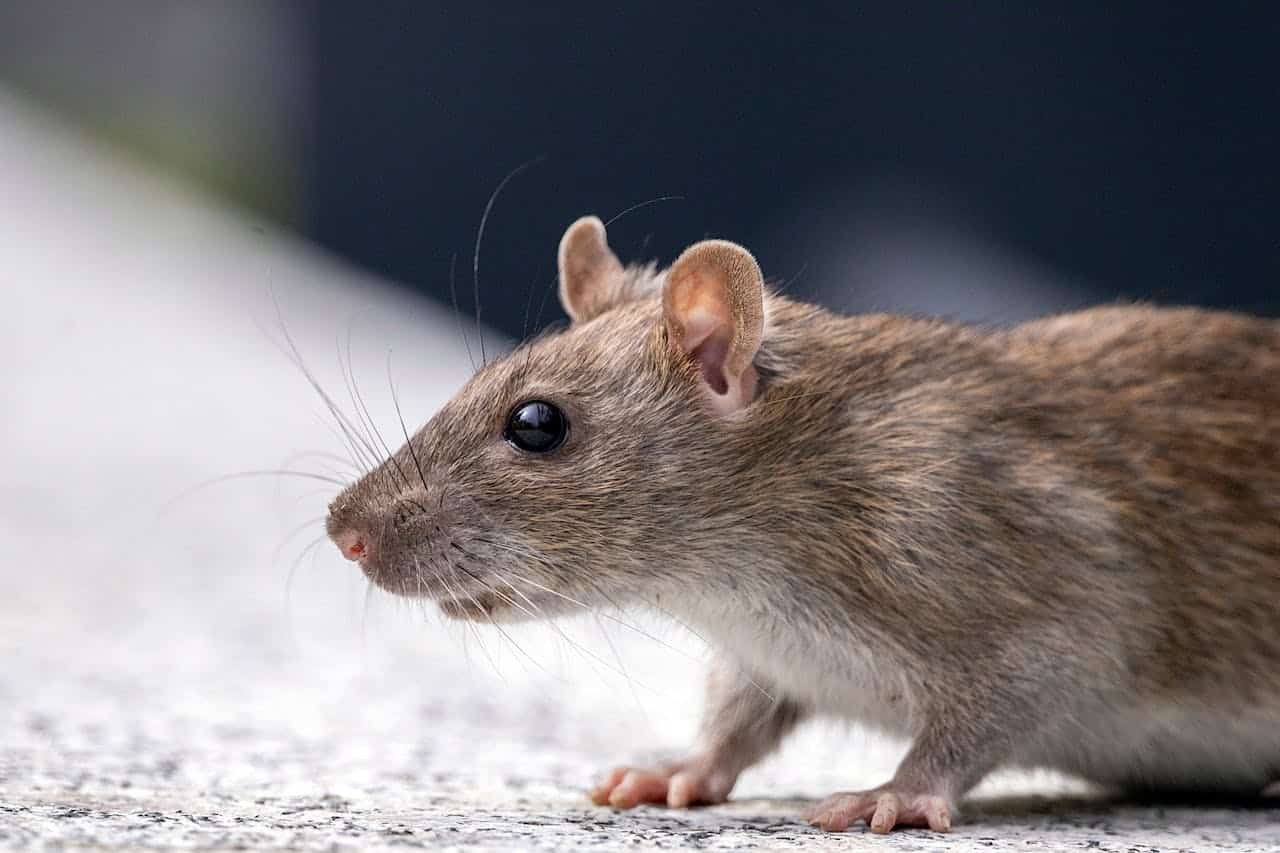
The Rodent-Insulation Connection San Jose Homeowners Can’t Ignore
Most insulation guides treat rodent damage as a footnote. In San Jose, it deserves its own chapter.
Roof rats are endemic throughout Santa Clara County. They travel utility lines, move through mature tree canopies, and squeeze through gaps as small as a half-inch to access attics. Once inside, they don’t just disturb the insulation—they nest in it, compress it, and saturate it with urine and droppings that off-gas into the living space below. What looks like an insulation problem on the surface is often a rodent problem at its root.
This is why rodent proofing has to come before insulation installation—not after. A company that installs new material without first sealing every entry point is handing rodents a clean, warm nest. Within months, the new insulation is in the same condition as what was just removed.
The sequence matters:
- Inspect and identify all active entry points
- Remove and seal every gap with corrosion-resistant materials
- Remove contaminated insulation and sanitize the attic
- Install new insulation only once the attic is clean and secured
Skipping or rushing any of these steps means the insulation upgrade is temporary. Atticare’s attic cleaning and rodent proofing services are designed to work together as a complete system—not as separate line items you have to piece together from different vendors.
If your attic has had any rodent activity—past or present—the insulation conversation starts with exclusion, not R-values.
Why San Jose Attics Need More Attention Than Most Homeowners Realize
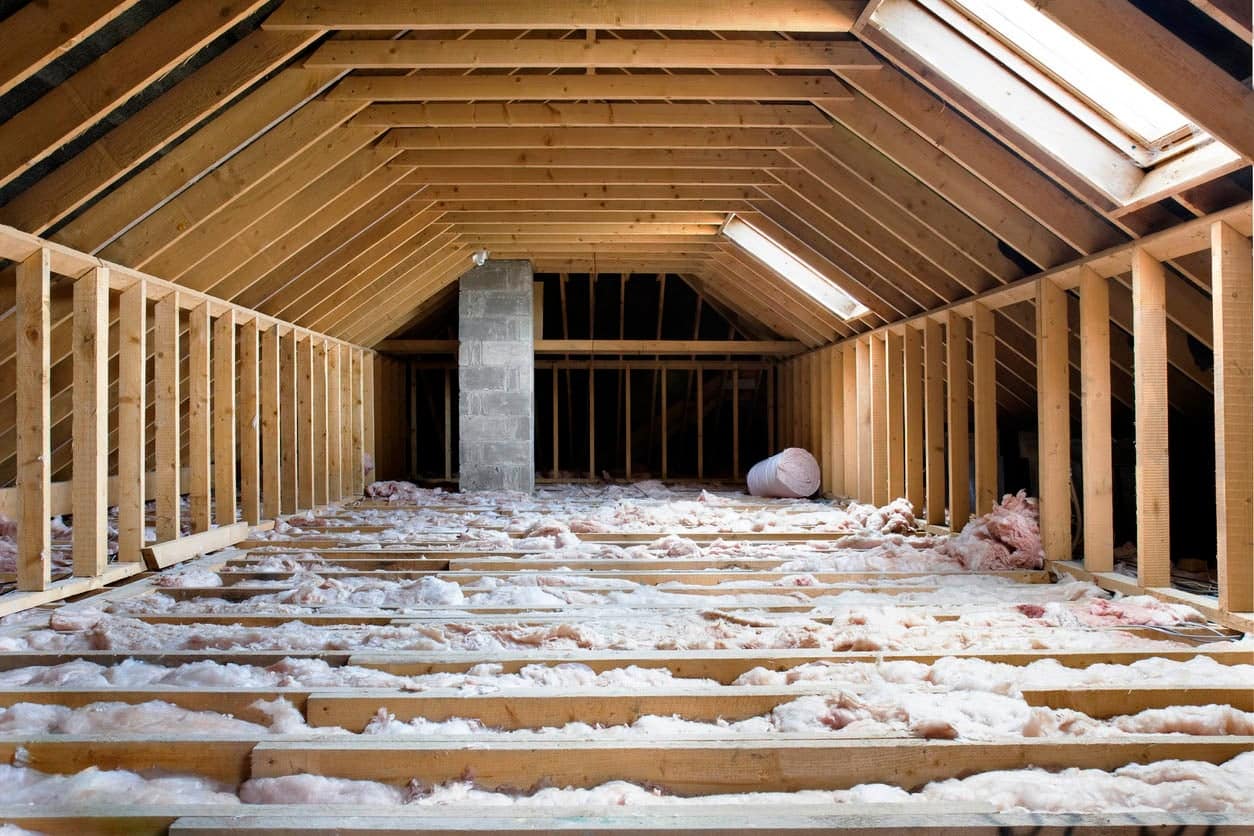
The Bay Area climate sits in an interesting middle zone—warm, dry summers with marine influence, mild winters, and persistent coastal humidity in some neighborhoods. That combination creates specific challenges for attic insulation that don’t come up in most generic installation guides.
San Jose summers can drive attic temperatures above 150°F. Without adequate insulation and proper ventilation, that heat transfers directly into the living space, forcing your HVAC system to work harder and costing you money every day it runs. Upgrading from the R-19 or lower that many older homes still have to the California-recommended R-38 can meaningfully change how your home feels—and what you pay to cool it.
But heat transfer is only part of the picture. Many San Jose homes—particularly those built before 1980—also face a rodent pressure problem that most insulation guides conveniently ignore. Roof rats are active throughout Santa Clara County. They access attics through gaps as small as a half-inch, nest in insulation, and leave behind contamination that degrades air quality throughout the home. An insulation upgrade that doesn’t account for this isn’t a complete solution.
When Attic Insulation Replacement Is Required
There’s a common misconception that new insulation can simply be added on top of old. Sometimes that’s true. Often it isn’t. Here’s when full removal and replacement is the right call:
Condition | Remove & Replace? | Add On Top? |
Rodent contamination (urine, droppings) | Yes—always | No |
Moisture damage or mold | Yes | No |
Severe compression or settling | Yes | No |
Vermiculite / potential asbestos | Test first | Do not disturb |
Minor depth loss, clean material | No | Yes |
Adequate depth, good condition | No | No—inspect only |
Rodent Contamination
If rats or mice have been active in your attic, the insulation is compromised. Rodent urine saturates blown-in material, reducing its R-value and creating a persistent odor source that off-gases into your living space. Droppings harbor pathogens that become airborne when the attic is disturbed. Layering new insulation over contaminated material doesn’t fix this—it buries it.
Full removal, sanitation and decontamination, and rodent-proofing must happen before any new insulation is installed. This is non-negotiable for homes with active or recent rodent history.
Moisture Damage and Mold
Attic leaks, condensation from inadequate ventilation, or bathroom exhaust fans venting into the attic (still common in older San Jose construction) can saturate insulation to the point where it harbors mold. Wet insulation loses most of its thermal performance and becomes a health concern. It has to come out.
Severe Compression
Insulation that’s been compressed—by foot traffic, stored items, or simply age—no longer holds its rated R-value. Blown-in material that’s settled to half its original depth is performing at half its rated capacity. If the material is physically intact and uncontaminated, adding depth may suffice; if it’s compressed and matted, replacement is the better investment.
Presence of Hazardous Materials
Homes built before the mid-1970s may contain vermiculite insulation with asbestos content. If you’re not sure what’s in your attic, have it tested before anyone goes up there to work. A reputable contractor won’t skip this assessment in an older home.
Blown-In vs. Batts: The Choice That Matters More Than Most Guides Admit
Material | Best For | Pros | Rodent History? |
Blown-in fiberglass | Clean attics, irregular joist bays | Even coverage, cost-effective | Not recommended |
Blown-in cellulose | Older homes, eco-conscious upgrades | Dense fill, recycled content | Not recommended |
Batts (fiberglass or mineral wool) | Homes with rodent history | Accessible, replaceable in sections | Preferred choice |
Spray foam | High-performance sealing upgrades | Air seal + insulation in one | Situational |
For most Bay Area homes without rodent history, blown-in fiberglass paired with thorough air sealing delivers the best balance of performance and value. For homes where rodents have been present, batts is the call—full stop.
Most insulation articles default to recommending blown-in fiberglass or cellulose for Bay Area attics. It’s a reasonable recommendation in many situations—blown-in achieves even coverage across irregular joist bays and works well in the tight spaces common in older San Jose homes. For a straightforward upgrade in a clean, rodent-free attic, it’s an efficient and cost-effective choice.
But for homes with any history of rodent activity—which describes a significant share of San Jose properties—batts insulation deserves serious consideration as the stronger long-term option.
Here’s the practical reason: if rodents return after installation (and in active neighborhoods, they often do), blown-in insulation becomes nearly impossible to work around. Any access to investigate, re-seal entry points, or address new activity kicks up a cloud of particulates throughout the attic. Batts, by contrast, can be lifted in sections, inspected, and replaced without disturbing the entire installation.
The attic stays serviceable. That’s not a minor convenience—it’s the difference between a permanent fix and a recurring problem.
A contractor who doesn’t ask about your rodent history before recommending a material isn’t giving you a complete picture. Atticare’s material guide covers this comparison in detail.
What Rodent Damage Repair in the Attic Truly Involves
When rodents have been active in an attic, the remediation scope goes well beyond pulling out old insulation. Here’s the full sequence that a properly handled project requires:
Full Attic Inspection
A technician documents the extent of contamination, identifies active entry points, and assesses structural damage to the attic decking, rafters, and ductwork. Photos are taken throughout.
Rodent Removal and Exclusion
Active rodents are removed, and all entry points are sealed with corrosion-resistant materials—metal flashing, hardware cloth, and foam sealant at gaps and penetrations. Rodent proofing at this stage is what separates a permanent fix from a temporary one. Sealing must be complete before insulation is touched.
Contaminated Insulation Removal
All affected material is vacuumed or carefully removed in sealed bags and disposed of properly. This step typically takes a full day for a standard San Jose home.
Sanitation and Decontamination
The attic surfaces—decking, joists, rafters—are treated with a non-toxic sanitizing agent that neutralizes odors and eliminates pathogens left behind by rodent waste. This step cannot be skipped if you want the odor and air quality problems resolved.
Air Sealing
Every significant penetration, gap, and attic bypass is sealed before new insulation goes in. Air sealing is what gives insulation its real-world performance—without it, conditioned air escapes through bypasses regardless of how much material is added.
New Insulation Installation
Material is selected and installed to the appropriate R-value for San Jose’s climate zone—typically R-38—with the choice of batts or blown-in informed by the property’s rodent history and attic configuration.
Final Documentation
Before-and-after photos, R-value confirmation, and a written record of all work completed. A reputable contractor provides this without being asked.
What R-Value Does Your San Jose Attic Need?
Insulation Level | Summer Performance | Winter Performance | Upgrade Priority |
R-11 or below | Poor—significant heat gain | Poor—major heat loss | Urgent |
R-13 to R-19 | Below average | Below average | High |
R-21 to R-30 | Moderate | Moderate | Recommended |
R-38 (California target) | Good | Good | Maintain |
R-49+ | Excellent | Excellent | High-performance upgrade |
California’s Title 24 energy code recommends R-38 for attics in most Bay Area climate zones. Many older San Jose homes—particularly those built in the 1960s through 1980s—have insulation levels well below this, sometimes as low as R-11 or R-13.
The practical impact of that gap is substantial. At R-13, an attic provides minimal resistance to summer heat gain. At R-38, heat transfer into the living space is significantly reduced, AC runtime decreases, and the home maintains more consistent temperatures between floors.
If your home was built after 2006 and has had no significant attic work since, it may already be close to code. A free inspection will tell you exactly where you stand—depth measurements, coverage uniformity, and any problem areas.
How Much Does Attic Insulation Cost in San Jose?
Pricing depends on attic size, existing conditions, and how much prep work the project requires. Here’s a realistic breakdown:
Service | Typical San Jose Range |
Attic inspection | Free – $200 |
Blown-in insulation installation (clean attic) | $1,500 – $4,000 |
Batts insulation installation | $1,800 – $4,500 |
Insulation removal (contaminated) | $1,500 – $6,000 |
Attic sanitation | $800 – $2,000 |
Rodent exclusion and sealing | $1,500 – $4,500+ |
Air sealing | $500 – $1,500 |
Full attic restoration (rodent damage) | $3,000 – $8,000+ |
For a typical 1,500–2,000 sq ft San Jose home requiring contamination removal, sanitation, exclusion, and new insulation, expect total project costs in the $4,500–$8,000 range. A quote that comes in dramatically below that usually means something was removed from the scope—confirm exactly what’s included before signing. Homeowners comparing attic insulation in San Jose contractors should use these ranges as a baseline when evaluating bids.
The ROI of Professional Attic Restoration in San Jose
While the upfront cost of a full attic restoration is an investment, it is one of the few home improvements with a nearly immediate impact on both monthly overhead and property value. In the competitive San Jose real estate market, a clean, rodent-proofed, and energy-efficient attic is a significant asset during home inspections.
- Reduced HVAC Wear and Tear: By hitting the R-38 target, your heating and cooling systems don’t have to cycle as often to combat attic heat transfer. This extends the lifespan of expensive equipment.
- Monthly Utility Savings: Homeowners in Santa Clara County often see a 10%–15% reduction in heating and cooling costs after proper air sealing and insulation upgrades.
- Protecting Home Value: Addressing rodent damage and contamination prevents structural issues and pheromone trails that can lead to much costlier repairs if left to fester.
Choosing a comprehensive restoration over a “patch job” ensures that you aren’t paying for the same service twice in three years.
How to Choose the Right Attic Insulation Contractor in San Jose
The questions you ask before hiring matter as much as the work itself. Here’s what to cover:
- Are you licensed by the California Contractors State License Board? (Ask for the number and verify it.)
- Do you carry general liability and workers’ compensation insurance?
- Do you inspect the attic before quoting—and provide a written, line-item estimate?
- Do you assess for rodent activity before recommending an insulation material?
- Do you handle insulation removal and sanitation in-house, or is it subcontracted?
- What R-value will you install, and is the work Title 24 compliant?
- Do you include air sealing in the scope, or is it a separate add-on?
- What does your warranty cover, and for how long?
A contractor who hesitates on any of these questions is a contractor worth reconsidering.
Atticare serves San Jose and the broader Bay Area with licensed, insured technicians and a process that starts with a free inspection and ends with documented, warranty-backed work. See what Bay Area homeowners say about the experience.
What Summer Heat Does to an Under-Insulated San Jose Attic
San Jose regularly sees summer temperatures in the 90s. On a 95°F day, an uninsulated or under-insulated attic can reach 150°F or higher. That heat radiates downward through the ceiling into your living space, forcing your air conditioning to run longer and work harder to maintain comfortable temperatures—especially on upper floors.
Proper attic insulation at R-38, combined with adequate ventilation, creates a thermal barrier that significantly reduces this heat transfer. Homeowners who upgrade from older, low-depth insulation routinely notice the difference in upstairs comfort within the first summer—and on their energy bills.
Adding a radiant barrier alongside insulation can further reduce radiant heat gain in San Jose’s sunny climate—worth discussing with your contractor for high-performance results.
The Part of This Project Most Contractors Rush Past
Air sealing. It’s not the visible part of the job, it doesn’t photograph well for before-and-after comparisons, and it adds time and labor to the project. But it’s the step that determines whether your insulation actually performs at its rated value—or just sits there while conditioned air escapes through every gap around a recessed light, plumbing penetration, or top plate.
Studies from the Department of Energy consistently show that air sealing combined with insulation delivers significantly better energy performance than insulation alone. A contractor who skips it is leaving real performance—and real savings—on the table.
At Atticare, air sealing is part of every full attic project. It’s not an upsell—it’s part of doing the job right.
What a Properly Done Attic Insulation Project Changes in Your Home
When attic insulation in San Jose is handled correctly—contamination addressed, entry points sealed, air sealing completed, and material installed to the right R-value—the results are tangible. More consistent temperatures between floors. Lower cooling costs through summer. A healthier attic environment with better air quality throughout the home. And the confidence that the problem was fixed at the source, not papered over.
That’s the difference between a project done right and one that looked right on the day of installation.
Your attic is worth doing properly. Book a free inspection and find out exactly where yours stands.
- Schedule Your Free San Jose Attic Inspection
- Get a Same-Day Estimate from Atticare
- Explore All Atticare Insulation Services
- Learn About Atticare’s Rodent Proofing Services
Frequently Asked Questions
How much can I save on energy bills with new insulation?
Most homeowners in the Bay Area see a 10%–15% reduction in their monthly heating and cooling costs. The exact savings depend on your previous R-value, but upgrading from R-19 to the recommended R-38 significantly reduces the “oven effect” in San Jose summers.
How much does attic insulation cost in San Jose?
Most projects range from $3,000–$8,000+ depending on home size and how much prep work—removal, sanitation, or rodent exclusion—is required. A free inspection gives you an accurate number for your specific attic.
What type of insulation is best for Bay Area homes?
Blown-in fiberglass works well in clean attics, but batts insulation is the better long-term choice for homes with any rodent history because it keeps the attic accessible and serviceable after installation.
What R-value is recommended for San Jose attics?
R-38 is the California-recommended target for most Bay Area climate zones. Many older San Jose homes currently have R-19 or lower, which represents a significant performance gap.
How long does attic insulation installation take?
A straightforward installation typically takes 4–8 hours. Projects that include insulation removal and sanitation usually run 1–2 days total.
Should old insulation be removed before installing new?
Yes, if it’s contaminated by rodents, wet, moldy, or severely compacted. Layering new material over damaged insulation traps contaminants and doesn’t restore performance.
Does attic insulation reduce summer heat in San Jose?
Significantly. Proper R-38 insulation combined with air sealing creates a thermal barrier that reduces heat transfer from a 150°F attic into the living space, improving upstairs comfort and lowering AC runtime.
How do I find a reputable attic insulation contractor in San Jose?
Look for a contractor who is CSLB-licensed, carries insurance, inspects before quoting, and provides a written line-item estimate. Ask specifically whether they handle air sealing and rodent assessment as part of the standard scope.