Attic rodent cleanup Bay Area homeowners need isn’t just about removing droppings and contaminated insulation. It’s about restoring the attic properly so rodents don’t return and new insulation actually performs as it should.
The problem with most attic remediation services is that they stop partway through the job. They remove the contaminated material, clean the surfaces, and hand you a list of other contractors to call for rodent-proofing and insulation. That’s not restoration. That’s a partial fix that leaves you coordinating multiple companies and wondering whether rodents will find their way back into a freshly cleaned attic.
This guide explains the complete 5-step restoration process—what it includes, why the order matters, and how Bay Area homeowners can avoid the most common mistakes.
At a glance
- Inspect first — an inspection reveals contamination level, entry points, and insulation condition so you know the actual scope before any work begins.
- Remove, clean, and sanitize — contaminated insulation comes out, then exposed surfaces are cleaned and sanitized so odors and health risks are addressed.
- Seal entry points — rodent-proofing closes the gaps rodents used to get in, which must happen before new insulation covers those openings.
- Insulate last — new insulation is the final step, installed only after the attic is clean, sanitized, and sealed.
- One contractor, one project — a full-service restoration contractor handles the complete sequence so you don’t coordinate multiple companies.
What Bay Area Homeowners Actually Need After Rodent Activity in the Attic
Short answer: If you’ve found rodent evidence in your attic, you have two problems—contamination and an entry-point problem. Solving one without the other means the problem comes back.
Rodent droppings in attic insulation are a visible symptom, but the insulation isn’t the root issue. Rodents found a way into your attic—through gaps at the roofline, vents, utility penetrations, or construction openings common in older Bay Area housing stock. They nested, urinated, left droppings, and damaged whatever material was available.
Cleaning up the contamination addresses the immediate mess. But if the entry points stay open, new rodents follow the same path. They’re attracted to the scent trails left by previous occupants. Within weeks or months, you’re back where you started—except now you may have paid for cleanup that didn’t last.
The Problem with Partial Solutions
Many remediation companies focus narrowly on one piece of the problem. A pest control company traps or removes rodents but doesn’t clean contaminated insulation. A cleanup company removes the insulation but doesn’t seal entry points. An insulation contractor installs new material but doesn’t ask whether the attic is actually ready for it.
This fragmented approach puts the coordination burden on you. You’re managing three schedules, three invoices, and three companies pointing fingers if something goes wrong.
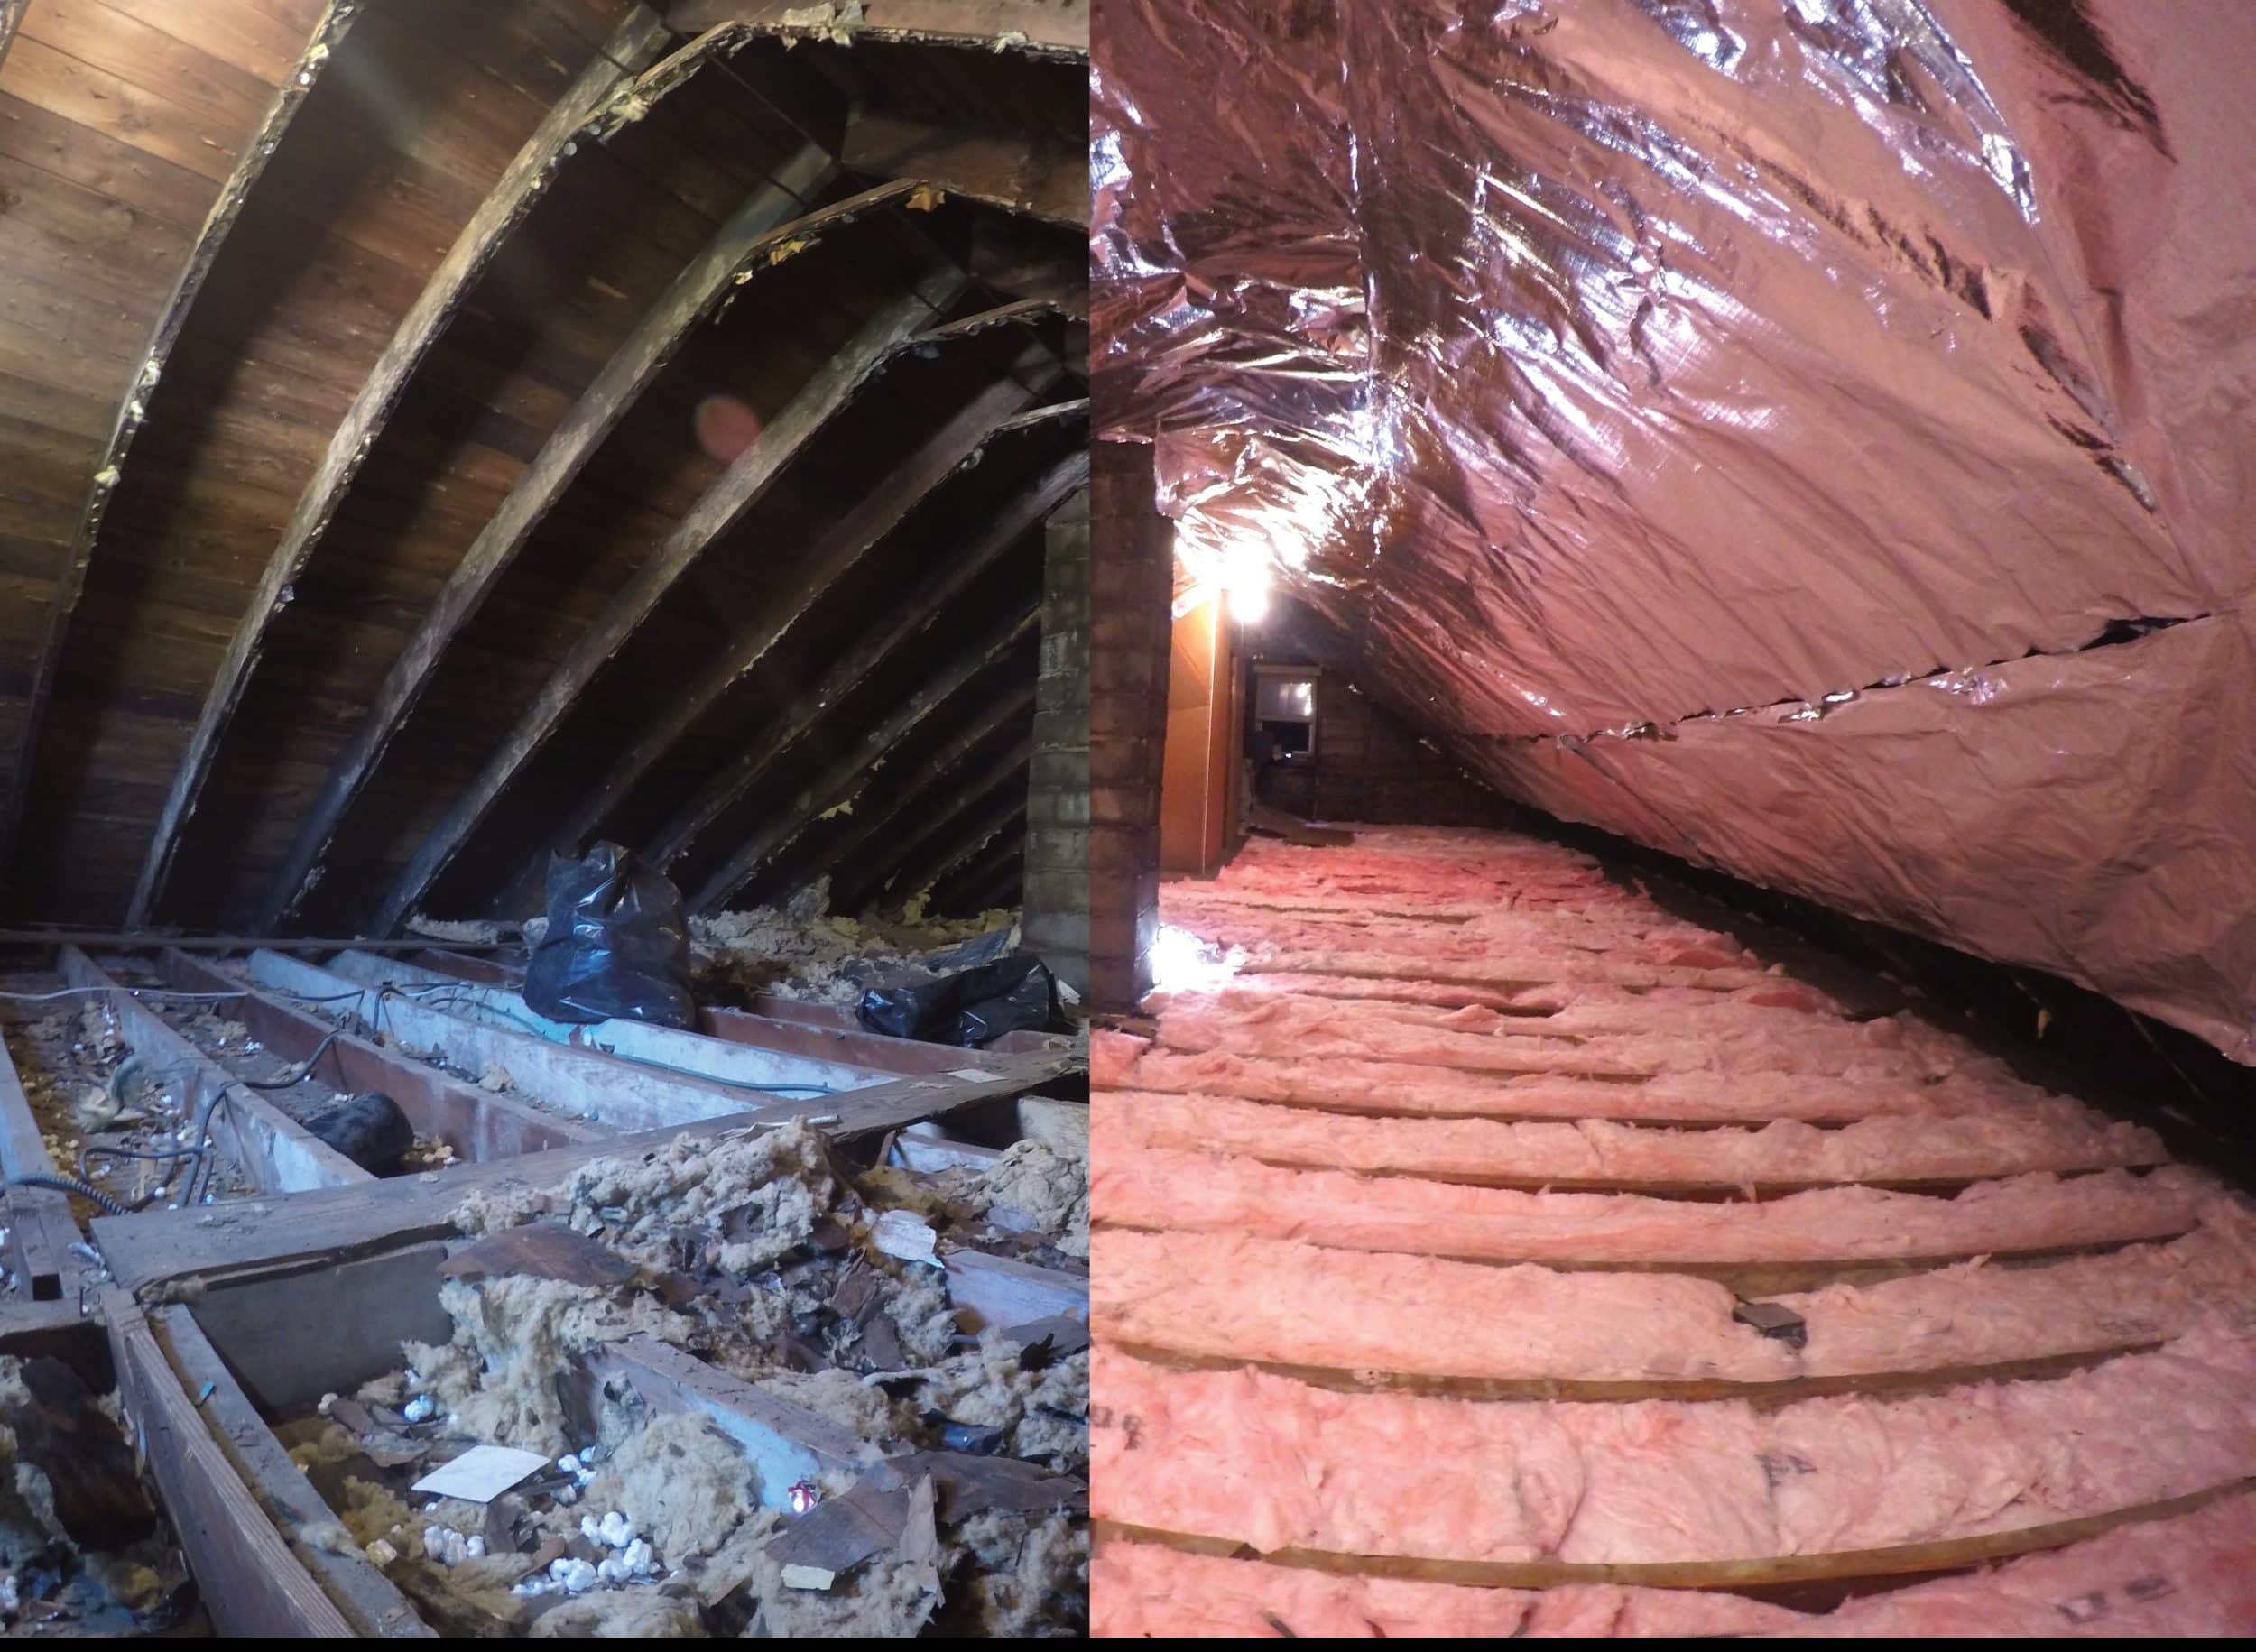
The better approach is a coordinated restoration sequence where one contractor handles the full scope: inspect, remove contaminated material, clean and sanitize, seal entry points, and insulate—in that order.
The 5-Step Attic Rodent Cleanup Bay Area Homeowners Should Expect
Short answer: The correct sequence is inspect → remove contaminated insulation → clean and sanitize → seal entry points (rodent-proof) → install new insulation. New insulation is always the final step.
Atticare USA uses a 5-step solution designed to address contamination, prevent recurrence, and restore the attic to a clean, functional condition. Here’s what each step involves.
Step 1 — Inspect the Attic
A proper inspection looks for more than droppings. The goal is to understand the full scope: where rodents entered, how extensive the contamination is, what condition the insulation is in, whether ducts are damaged, and whether there are moisture indicators or other issues hidden under the insulation.
In Bay Area homes—especially older construction in San Leandro, Oakland, and throughout the East Bay—attic access can be tight and insulation configurations vary widely. Some homes have additions with different insulation types layered over decades. The inspection determines whether you need full insulation removal or spot treatment, how many entry points need sealing, and what the project will actually cost.
Step 2 — Remove Contaminated Insulation
When insulation is heavily contaminated, compressed, damaged, or hiding evidence of deeper problems, removal is the right call. Rodent urine, droppings, and nesting materials can saturate loose-fill insulation, and the contamination isn’t always visible from the surface.
Removal exposes the attic floor so the crew can see what they’re working with—damaged areas, gaps, duct problems, and entry points that were hidden under the insulation.
Not every situation requires full removal. Light contamination in a small area may only need spot treatment. The inspection determines the scope.
Step 3 — Clean and Sanitize
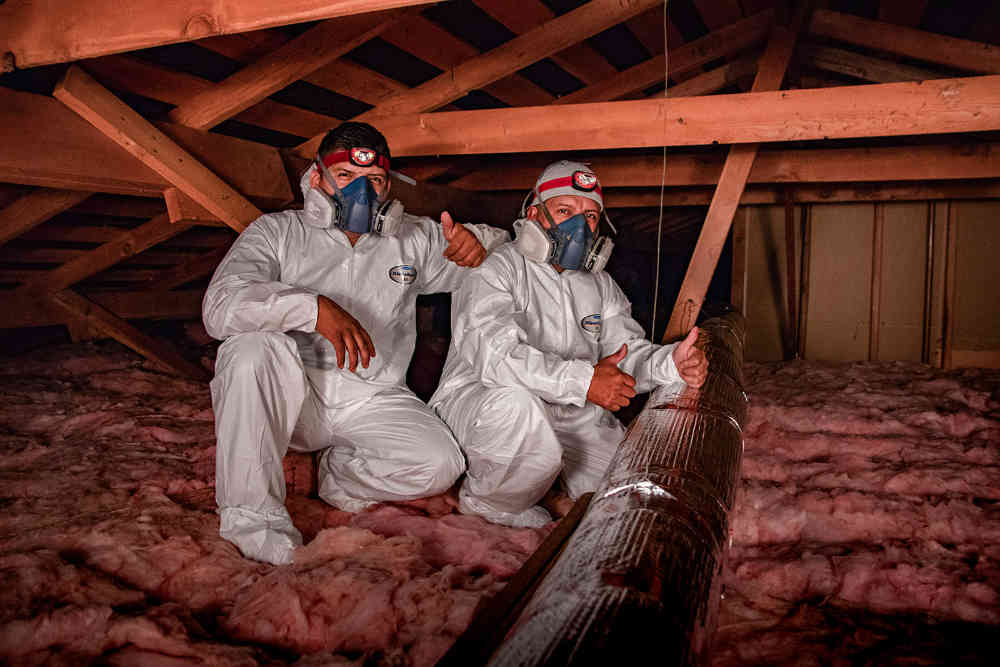
Once contaminated insulation is out, the exposed surfaces need to be cleaned and sanitized. This includes vacuuming remaining debris, removing nesting material, and deodorizing where appropriate.
The CDC recommends that cleanup of rodent droppings, urine, and nesting materials be done carefully, with proper precautions, especially when contamination is significant.¹ Professional cleanup reduces exposure risk and ensures the space is actually ready for the next steps.
Cleaning and sanitization happen after removal, not before. There’s no point sanitizing insulation you’re about to remove.
Step 4 — Seal Entry Points (Rodent-Proofing)
This is the step most remediation-only companies skip—and it’s the step that determines whether your cleanup lasts.
Rodent-proofing means finding and sealing the gaps, cracks, vents, utility penetrations, and roofline openings that rodents used to access your attic. The EPA identifies common entry points including holes around pipes, gaps in exterior walls, and openings around vents.² Materials vary depending on the opening—wire mesh, cement, foam, or other appropriate sealants.
Bay Area homes present specific challenges. Rodent entry can happen through vents, crawl space openings, roofline gaps, utility penetrations, and construction openings—especially in homes with additions or mixed construction eras common from San Jose through Marin County.
Sealing happens before new insulation is installed. Once insulation is in place, entry points become harder to find and impossible to seal properly. The goal is to close the path back in before you invest in new insulation that could become nesting material for the next generation of rodents.
Atticare USA’s rodent proofing services carry a 1-year warranty—a one-time fix, not a recurring service contract.
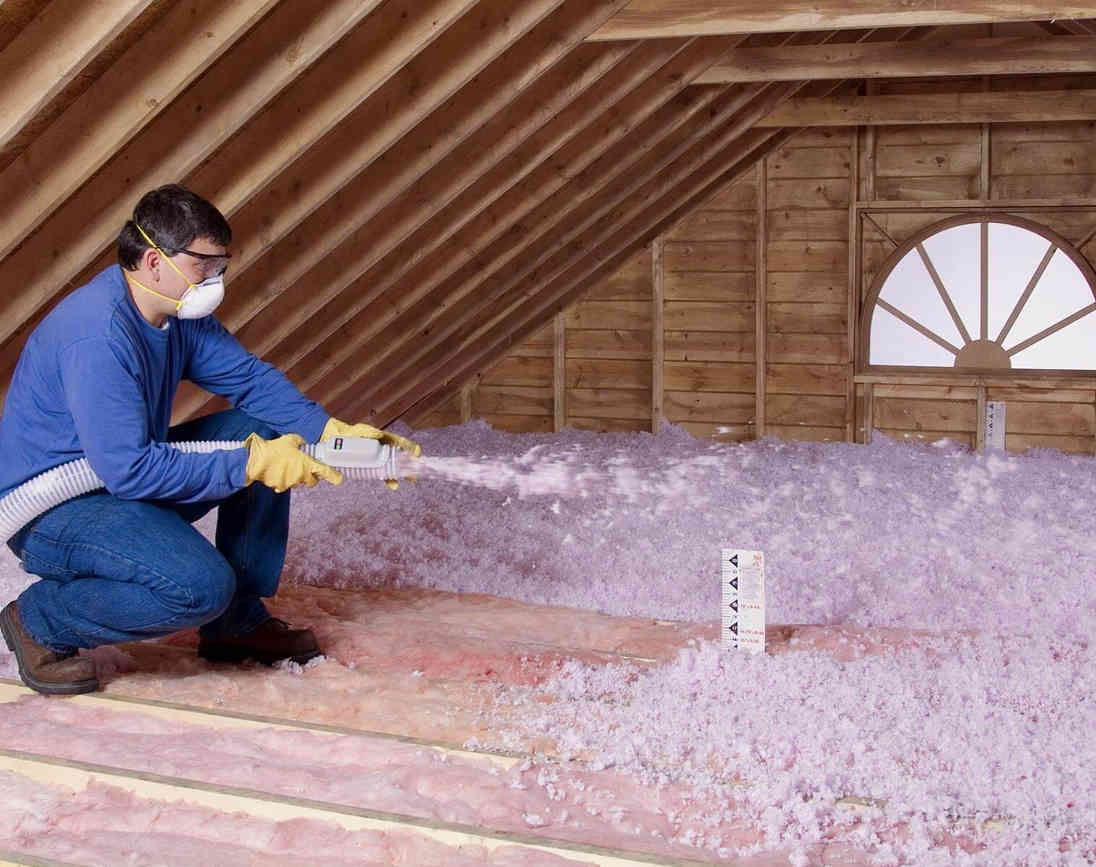
Step 5 — Install New Insulation
Insulation is the final layer. It should only be installed after the attic is clean, sanitized, and sealed.
New insulation over an unresolved contamination problem traps odors, hides evidence, and accelerates deterioration. New insulation over unsealed entry points becomes an invitation—rodents return to a space that’s now even more comfortable for nesting.
When the sequence is followed correctly, new insulation improves comfort and energy efficiency because it’s installed in an attic that’s actually ready for it. According to the U.S. Department of Energy, proper attic insulation reduces heat transfer and can significantly improve home comfort and energy performance.³
For Bay Area homeowners, comfort concerns vary by microclimate—warmer inland areas like the East Bay and South Bay have different insulation considerations than cooler coastal or fog-influenced zones. The right insulation approach depends on your specific situation, which is why inspection comes first.
Why the Order Matters: Common Mistakes to Avoid
Short answer: The two biggest mistakes are installing new insulation before cleanup is complete and skipping rodent-proofing entirely. Both lead to repeat problems and wasted money.
Installing New Insulation Before Cleanup
Some contractors offer to “just add more insulation” on top of existing material. If that existing material is contaminated, you’ve covered the problem instead of solving it. Odors persist. Contamination spreads. The attic floor—where the real issues are—stays hidden.
When problems eventually surface, the new insulation has to come out too. You’ve paid twice for something that could have been done right once.
Skipping Rodent-Proofing
Cleanup without sealing is a temporary fix. Rodents return to familiar spaces. Scent trails remain. If entry points stay open, the next rodents find an even cleaner attic waiting for them.
Professional attic rodent cleanup should include exclusion work. Otherwise, you’re treating symptoms instead of causes.
What Attic Rodent Cleanup Costs in the Bay Area
Short answer: Costs vary by contamination level, attic size, accessibility, and how many entry points need sealing. As a starting point, these Southern California ranges are useful anchors: cleanup $1,500–$4,500; contaminated insulation removal $1,500–$6,000; new insulation roughly $2.50–$4.50 per square foot. Bay Area pricing typically runs higher than these Southern California figures because of local labor costs, so treat them as a budgeting floor rather than a Bay Area quote.
Factors That Affect Your Project Cost
- Contamination level: Light contamination in one area costs less than heavy contamination throughout the attic.
- Attic size and accessibility: Larger attics and low-clearance spaces take more time. Many Bay Area homes have tight attic access or vaulted sections that affect project scope.
- Insulation type: Blown-in cellulose, fiberglass batts, and other materials have different removal and installation costs.
- Number of entry points: More gaps to seal means more rodent-proofing work.
- Additional issues: Damaged ducts, moisture indicators, or structural concerns add to the scope.
An inspection provides an accurate scope and a written proposal outlining the recommended work and pricing.
One Contractor vs. Three: Why It Matters
Short answer: A full-service restoration contractor handles cleanup, sealing, and insulation in one coordinated project. You don’t manage multiple companies or worry about gaps in the work.
The fragmented model—pest control, then remediation company, then insulation contractor—creates accountability gaps. Who’s responsible if rodents return? Who ensures the attic is actually ready before new insulation goes in? Who coordinates the timeline?
When one contractor handles the complete sequence, the work is coordinated, the timeline is clear, and accountability stays in one place.
Atticare USA provides the full 5-step restoration: inspection, insulation removal, cleaning and sanitization, rodent-proofing with a 1-year warranty, and new insulation installation. One contractor. One project. One point of contact.
Signs You Need Professional Attic Rodent Cleanup
Short answer: Droppings, urine stains, scratching sounds, damaged insulation, gnaw marks, and musty odors all indicate rodent activity that warrants professional inspection.
The CDC identifies key signs of rodent infestation including droppings, gnaw marks, and nesting materials.⁴ Watch for:
- Rodent droppings (small dark pellets, often concentrated in pathways or nesting areas)
- Urine stains or strong ammonia-like odor
- Scratching or scurrying sounds, especially at night
- Compressed, torn, or tunneled insulation
- Gnaw marks on wood, wiring, or ductwork
- Nesting material (shredded insulation, paper, fabric)
- Grease marks along walls or rafters (rodent travel paths)
If you’re seeing these signs, an inspection determines how extensive the problem is and what the right restoration scope looks like.
FAQ — Attic Rodent Cleanup in the Bay Area
Do I need to remove all my attic insulation after rodents?
Not always. It depends on contamination level. An inspection determines whether full removal or spot treatment is appropriate.
How do I stop rodents from coming back after attic cleanup?
Entry points must be sealed (rodent-proofing) before new insulation is installed. Cleanup without sealing often leads to re-infestation.
Is rodent-contaminated insulation a health hazard?
Rodent droppings, urine, and nesting materials should be handled carefully. The CDC recommends professional cleanup for significant contamination.¹
Does Atticare USA do pest control or rodent trapping?
Atticare USA specializes in rodent exclusion (sealing entry points), cleanup, sanitation, and restoration. For live rodent removal, a licensed pest control provider handles that step first.
Next Step — Get a Free Attic Inspection
If you’ve found rodent evidence in your attic, the smartest first step is an inspection that shows you exactly what you’re dealing with—contamination level, entry points, insulation condition, and what the full restoration scope looks like.
Atticare USA has served Bay Area homeowners since 2012, with over 1,400 reviews and 11,000+ clients. We’re Diamond Certified, licensed, insured, and bonded (CA #1051462). You’ll receive a written proposal outlining the recommended scope of work and pricing.
Our Bay Area team serves homeowners throughout the East Bay, South Bay, North Bay, and San Francisco from offices in San Leandro, San Jose, San Rafael, and Petaluma.
Book a free attic inspection and find out what’s actually happening in your attic—before covering the problem with new insulation.
Sources
- Centers for Disease Control and Prevention. “Cleaning Up After Rodents.” https://www.cdc.gov/healthy-pets/rodent-control/clean-up.html
- U.S. Environmental Protection Agency. “Identify and Prevent Rodent Infestations.” https://www.epa.gov/rodenticides/identify-and-prevent-rodent-infestations
- U.S. Department of Energy. “Insulation.” https://www.energy.gov/energysaver/insulation
- Centers for Disease Control and Prevention. “Controlling Wild Rodent Infestations.” https://www.cdc.gov/healthy-pets/rodent-control/index.html
Recent Atticare USA projects in and near San Leandro
- Attic Insulation Replacement with Blown-In & Rodent Proofing in San Leandro, CA (San Leandro, April 2026)
- Attic Insulation Replacement & Rodent Proofing in San Jose, CA (San Jose, May 2026)
- Attic Insulation Replacement with Blown-In & Rodent Proofing in San Jose, CA (San Jose, June 2026)
- Attic Insulation Replacement, Rodent Proofing & Air Duct Work in San Jose, CA (San Jose, July 2026)